Tutorial: GIMP Muzzle Flashes
Posted: Mon Jan 07, 2008 4:55 am
First-person Muzzle Flashes in GIMP
Chances are if you're a poor teenager like me, you'll be using GIMP for most of your game graphics.
You're in luck, because although GIMP is free... it's also very power, and can be compared to photoshop. Unfortunately, you have to torture it more than Photoshop because it still needs to be improved on several levels.
But anwyay, I thought I'd bring you a quick tutorial on how to make some nice first-person muzzle flashes in GIMP with relative ease.
First, you'll need to open up gimp (durr ) and start a new image. This can be pretty much any size as long as it's in a power of two (e.g. 256x256, 512x512, etc), and obviously the bigger image the better, but if you make too many hi-resolution graphics your game will be larger and will take longer to load, etc. I'm gonna stick with 512x512 for now.
Fill the background with black. (tip: pressing 'd' changes whatever colors you have to the default colors (black and white)).
Click on filter>lights and shadows>gradient flare. (note: at this step, you may be inclined to create a new layer for the flare. For some reason it doesn't work that way).
A little dialog box will pop up. In the list of types you'll see on called 'distant sun'. Click on that, and then switch to the settings tab.
You'll want to play with these settings, especially if you're using a different size image than I am.
When you're done, click 'ok'.
Now, go to filter>blur>gaussian blur.
Again, you're gonna wanna play with this. Make sure that the little chainlink button is connected, so your vertical and horizontal blurs will be indentical. I'm using a radius of 20 pixels.
Here's what I have now:
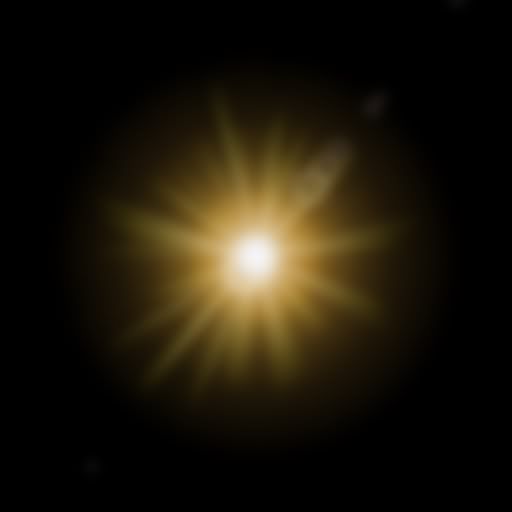
Now, it looks pretty boring, right?
Duh. Let's make it look cooler. Duplicate your layer. Set the layer mode to 'addition' and then duplicate that layer several more times. I duplicated mine seven times.
When you have something that looks nice, click image>flatten image. This will take the whole image and stuff it into one layer.
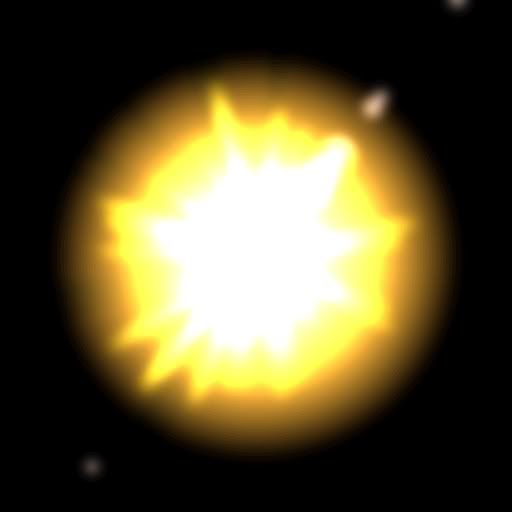
It's possible that you'll have some little blurry blobs around the main flash from the original flare image we generated, which is evident in mine. Imma just take the brush tool and set my colors to black, and then paint them out.
The ones on the outside were easy, but I for the one in the middle near the center I had to paint it out and then smudge it with a larger, fuzzy brush to cover it up.
Here's what I got:
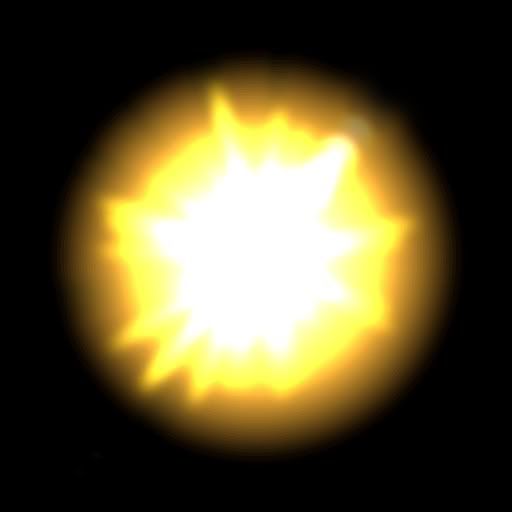
Now, technically you could use this by itself. But we can spiff it up a little bit more.
At this point, you can do what you want. But for me, the circular outside fuzzy stuff really needs to go. I basically just painted it out and smudged it a little bit so it wasn't hard-edged. I did some other minor edits to get this final image:
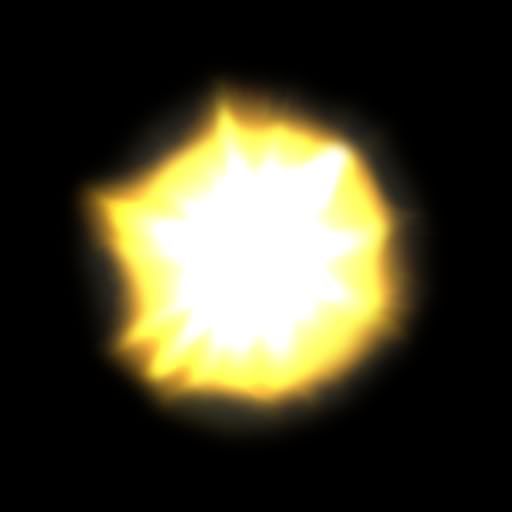
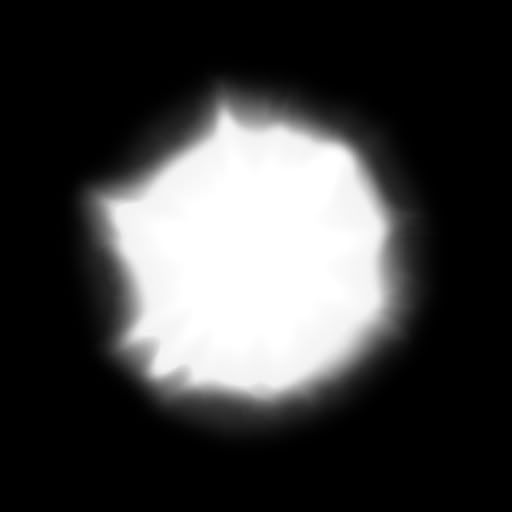
Now, for use in realityfactory (and pretty much any other engine), it'll need an alpha map. This is pretty easy to do. Make sure you save the image before you continue as not to lose your colored muzzle flash.
Hit colors>desaturate, click "luminosity", and then OK.
This will basically make the edges grayer and the middle parts white. Exactly what we need.
Save it as a different file.
Here's what mine looks like:
Here it is in-game
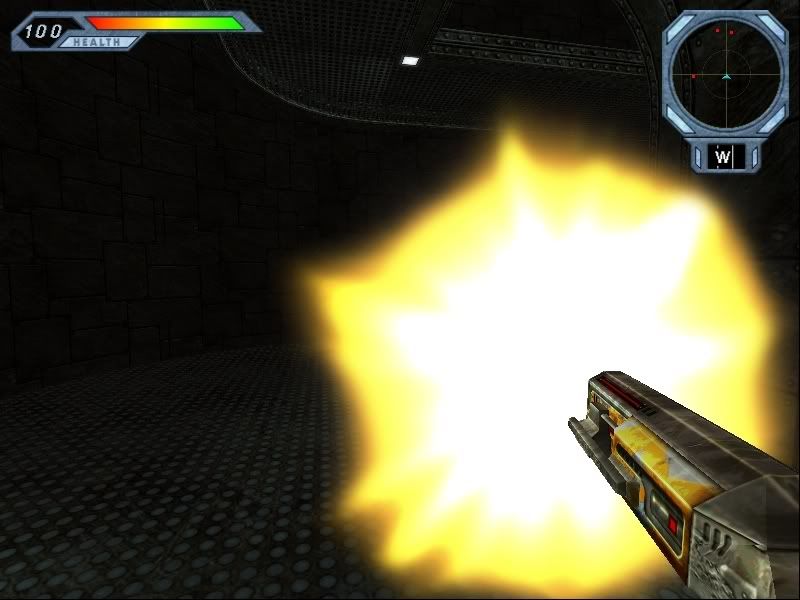
Yeah, it's a little big. But the alpha map looks good.
You can also play with the colors, add little variations for animation, etc etc. make is special. I'd love to see what you can come up with
Feel free to ask questions
Chances are if you're a poor teenager like me, you'll be using GIMP for most of your game graphics.
You're in luck, because although GIMP is free... it's also very power, and can be compared to photoshop. Unfortunately, you have to torture it more than Photoshop because it still needs to be improved on several levels.
But anwyay, I thought I'd bring you a quick tutorial on how to make some nice first-person muzzle flashes in GIMP with relative ease.
First, you'll need to open up gimp (durr
Fill the background with black. (tip: pressing 'd' changes whatever colors you have to the default colors (black and white)).
Click on filter>lights and shadows>gradient flare. (note: at this step, you may be inclined to create a new layer for the flare. For some reason it doesn't work that way).
A little dialog box will pop up. In the list of types you'll see on called 'distant sun'. Click on that, and then switch to the settings tab.
You'll want to play with these settings, especially if you're using a different size image than I am.
When you're done, click 'ok'.
Now, go to filter>blur>gaussian blur.
Again, you're gonna wanna play with this. Make sure that the little chainlink button is connected, so your vertical and horizontal blurs will be indentical. I'm using a radius of 20 pixels.
Here's what I have now:

Now, it looks pretty boring, right?
Duh. Let's make it look cooler. Duplicate your layer. Set the layer mode to 'addition' and then duplicate that layer several more times. I duplicated mine seven times.
When you have something that looks nice, click image>flatten image. This will take the whole image and stuff it into one layer.

It's possible that you'll have some little blurry blobs around the main flash from the original flare image we generated, which is evident in mine. Imma just take the brush tool and set my colors to black, and then paint them out.
The ones on the outside were easy, but I for the one in the middle near the center I had to paint it out and then smudge it with a larger, fuzzy brush to cover it up.
Here's what I got:

Now, technically you could use this by itself. But we can spiff it up a little bit more.
At this point, you can do what you want. But for me, the circular outside fuzzy stuff really needs to go. I basically just painted it out and smudged it a little bit so it wasn't hard-edged. I did some other minor edits to get this final image:

Now, for use in realityfactory (and pretty much any other engine), it'll need an alpha map. This is pretty easy to do. Make sure you save the image before you continue as not to lose your colored muzzle flash.
Hit colors>desaturate, click "luminosity", and then OK.
This will basically make the edges grayer and the middle parts white. Exactly what we need.
Save it as a different file.
Here's what mine looks like:

Here it is in-game

Yeah, it's a little big. But the alpha map looks good.
You can also play with the colors, add little variations for animation, etc etc. make is special. I'd love to see what you can come up with
Feel free to ask questions